
School Portal and Zulip Login
Here you will learn how to log in to the school portal and open Zulip. Please have your login details ready, which you received from the school administration.
The SCHULCHAT Card
The SCHULCHAT card opens Zulip, the school's communication platform.
Security Notice
Never share your password with another person. The school will never ask for your current password.
-
1
Open School Portal
Open the following address in your web browser:
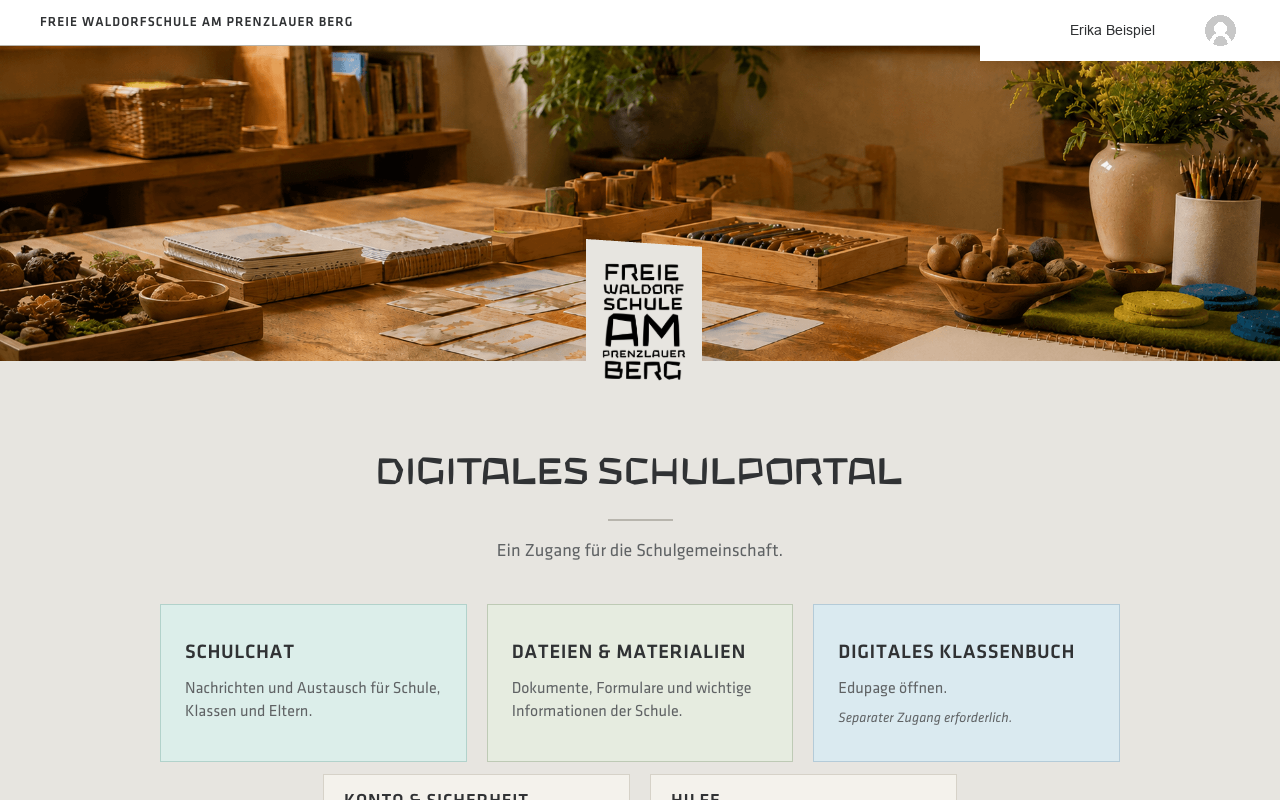
Step 1: The digital school portal landing page. -
2
Log In to School Chat
On the portal dashboard, select the card named SCHULCHAT.
This opens the central school login page.
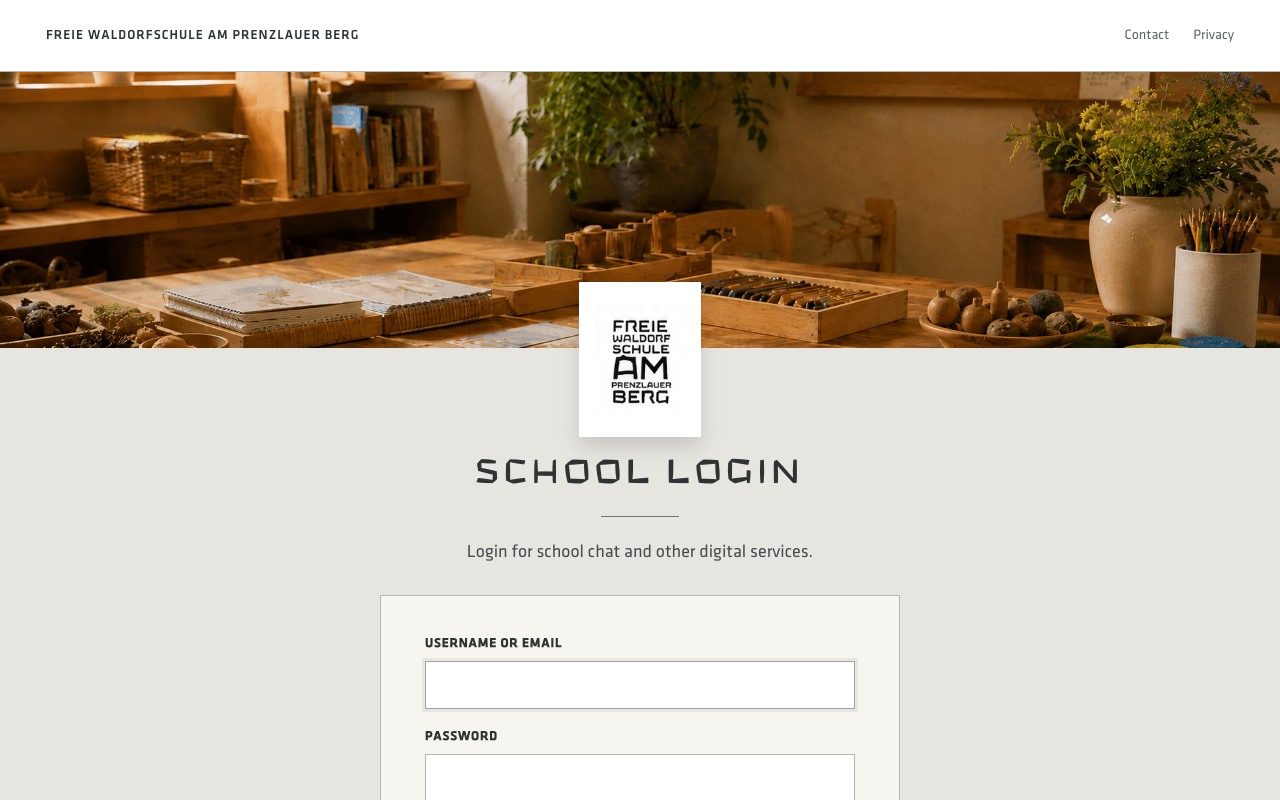
Step 2: The empty school login page. -
3
Enter Login Details
Type your credentials into the fields:
- Enter your username in the USERNAME OR EMAIL field.
- Enter your password in the PASSWORD field.
Click the blue sign-in button to continue.
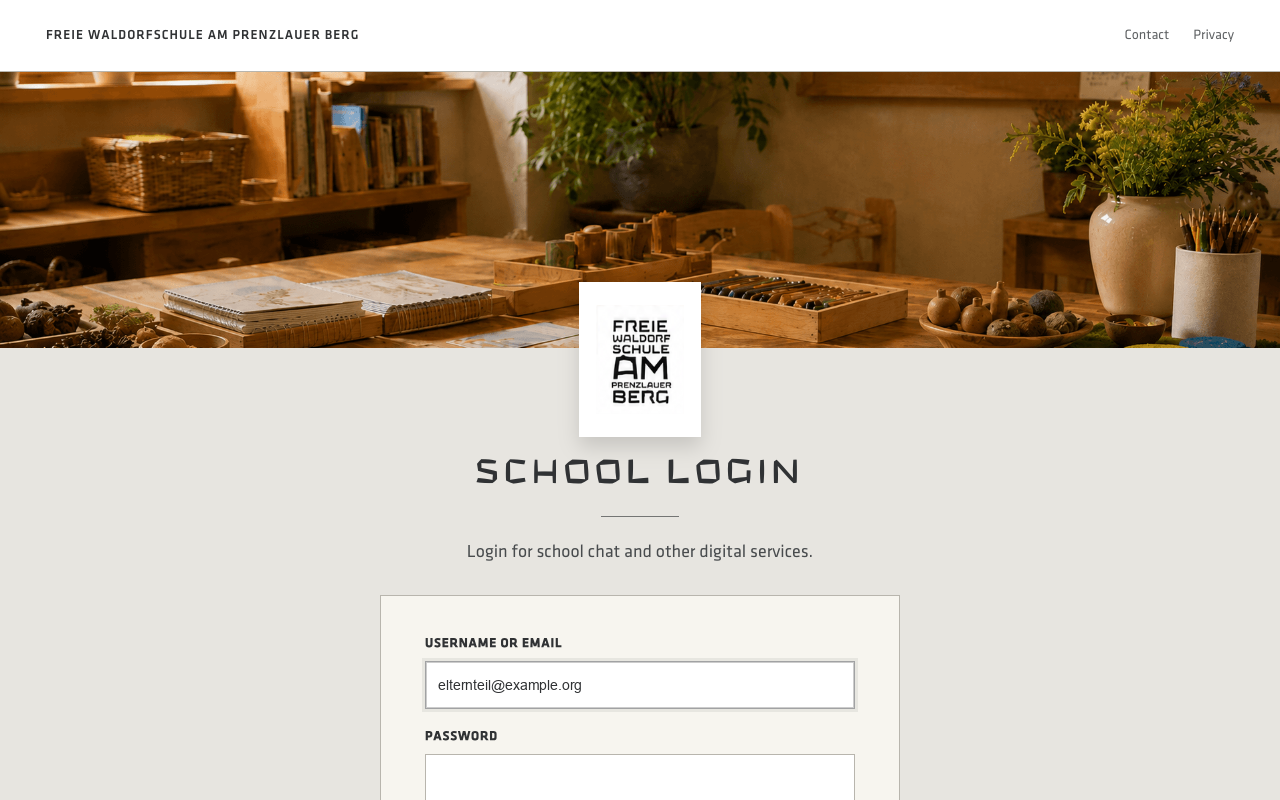
Step 3a: Entered email address in the USERNAME OR EMAIL field. 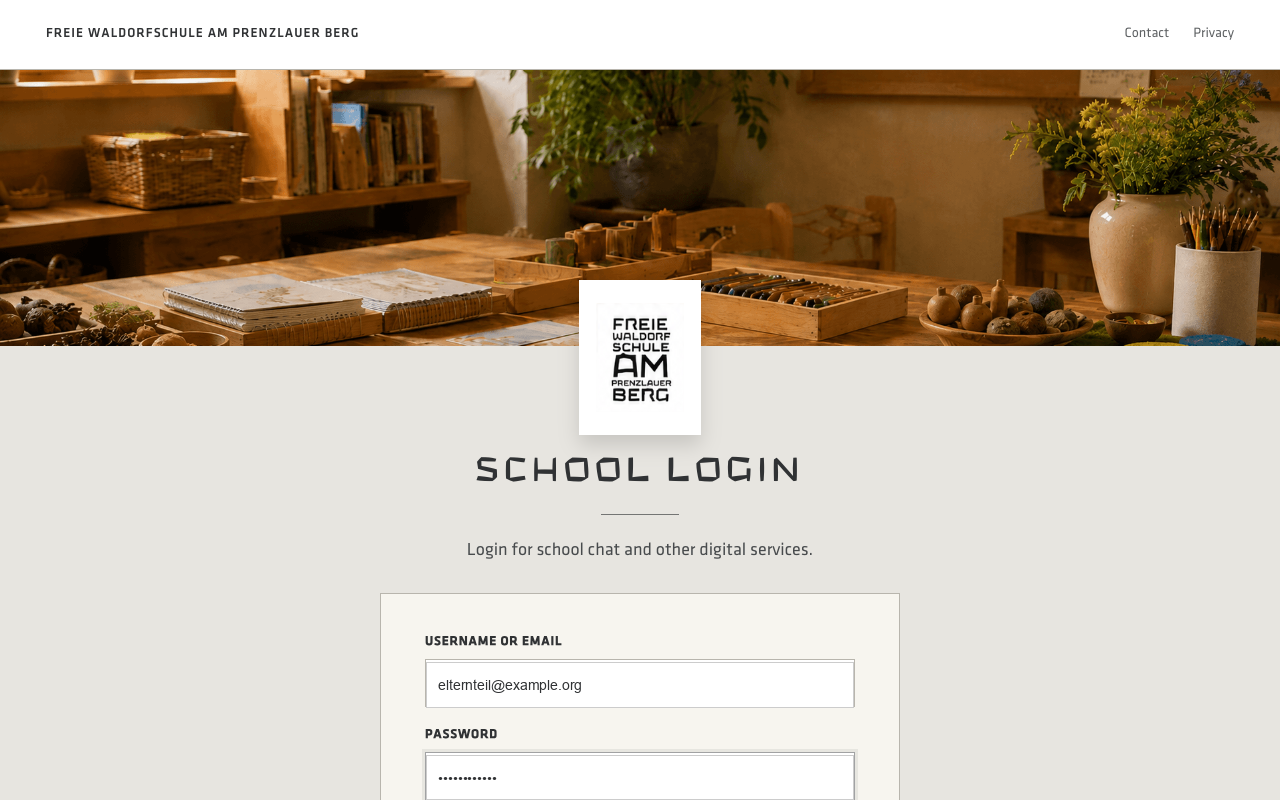
Step 3b: The password is masked for security in the PASSWORD field. -
4
Log In to Zulip with SAML
When the Zulip login page appears, select the green button: Log in with SAML.
Since you logged in to the school portal in the previous step, Zulip recognizes your session automatically (Single Sign-On) and logs you in without requesting your password again.
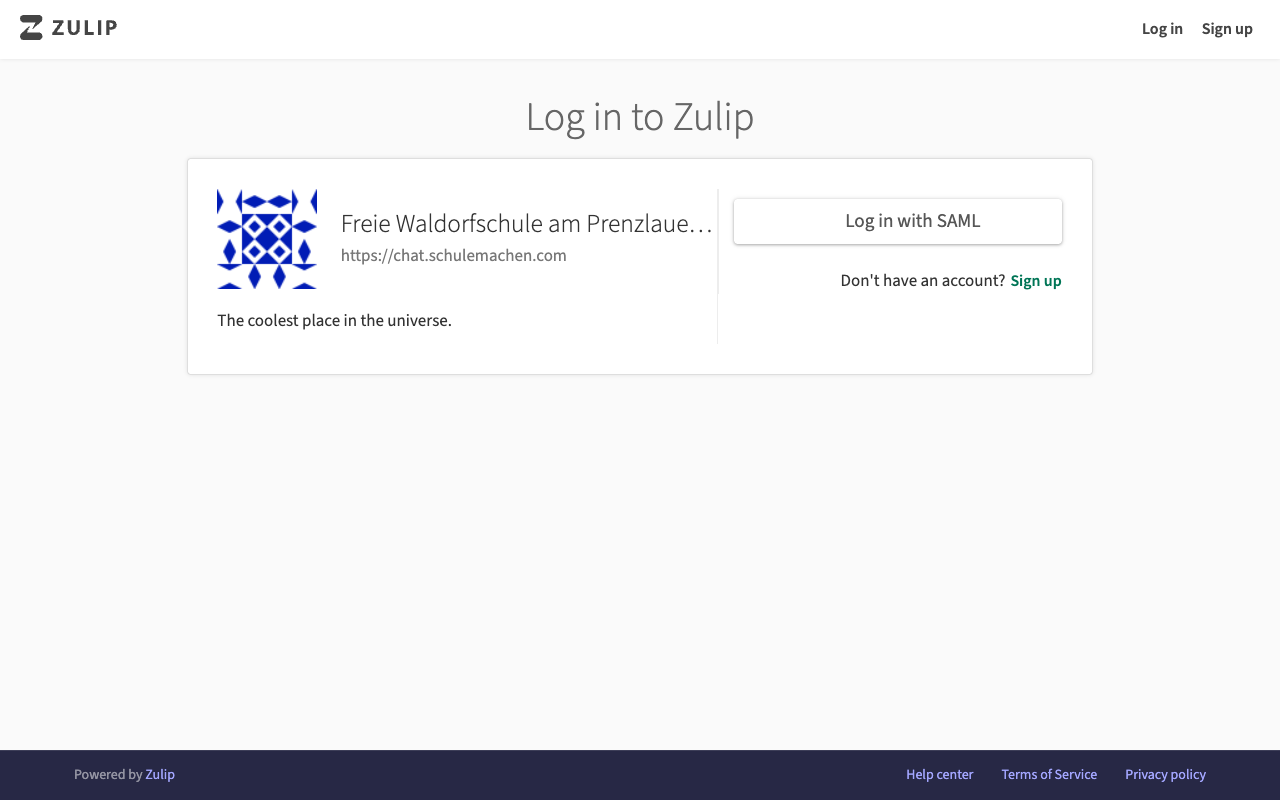
Step 4: The Zulip login page showing the Log in with SAML button. -
5
Zulip Launched Successfully
The Zulip main interface loads and displays your Inbox. You have completed the login process successfully!
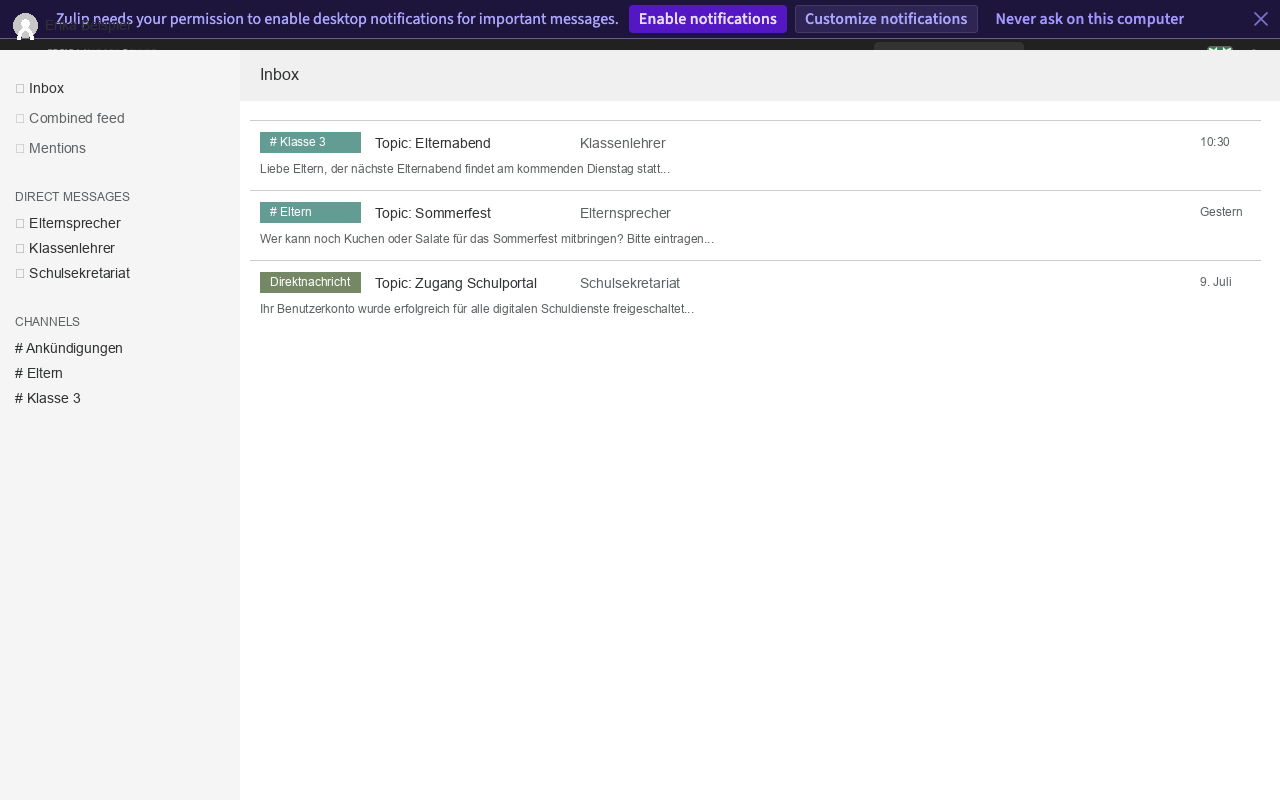
Step 5: The Zulip workspace view after successful sign-in.